Setting up a Home Voice Over Studio | Voices Bazaar
2022-10-31

So after countless people telling you about the wonderful voice you have, you finally decided to take a leap of faith and explore the voiceover industry. And after watching a few videos on YouTube, you are now ecstatic to begin your voiceover journey.
Welcome to our World, one full of possibilities and enough creativity to keep you motivated and craving for more. But before you full steam ahead, there are a few things you need to get in place in order to get started with a career as a professional voice over artist, and atop that list, sits setting up a home recording studio or a homme setup. While it is not an absolute necessity, it is definitely a ‘Great to have' in this post-Covid world of WFH gigs and global remote working opportunities, and hey! While this might seem like a huge task at first, setting up a home voiceover studio isn’t really rocket science and with some basic research and an understanding of one's requirements, it is pretty easy to get started. And it opens up a whole new world of possibilities.
So, what do you need in your ‘Home Voiceover Setup’?
Well, let’s list them out below.
1. The right space
2. The right microphone & equipment
3. A computer with a DAW
So let's get started with,
The Right Space:
 Well, the first step towards building a home voiceover studio is finding the right place at home to set up your microphone. This could be something as big as a room or even something as a shelf in your cupboard! While a room would be absolutely stellar to have, a shelf or a computer table too works just as well. Remember, it’s about making the best of what we have and in the end it is about getting the high-quality audio we anticipate.
So let’s say you’ve decided to convert your spare room into a voiceover studio...
The first thing you need to do is make the room or the space devoid of echoes and reverberations, (At least the area in and around the microphone), now to do this we need to understand a simple concept - Sound reflects off untreated walls and corners, and that is picked up by microphones as echoes and reverbs, making your audio sound roomy and often-times unusable. But don't worry, this can be tackled fairly easily with the use of some acoustic studio foam blocks. Relatively low-cost and easy to fix, these square blocks do wonders for your room by absorbing sound and reducing echoes and should be fitted behind and around your microphone.
Here's a link to one's available online: https://www.amazon.in/YGM-Acoustic-Pyramid-Soundproofing-Charcoal/dp/B07X8BT48W?ref_=ast_sto_dp&th=1
now, let's say we decide to convert a shelf into a recording setup...
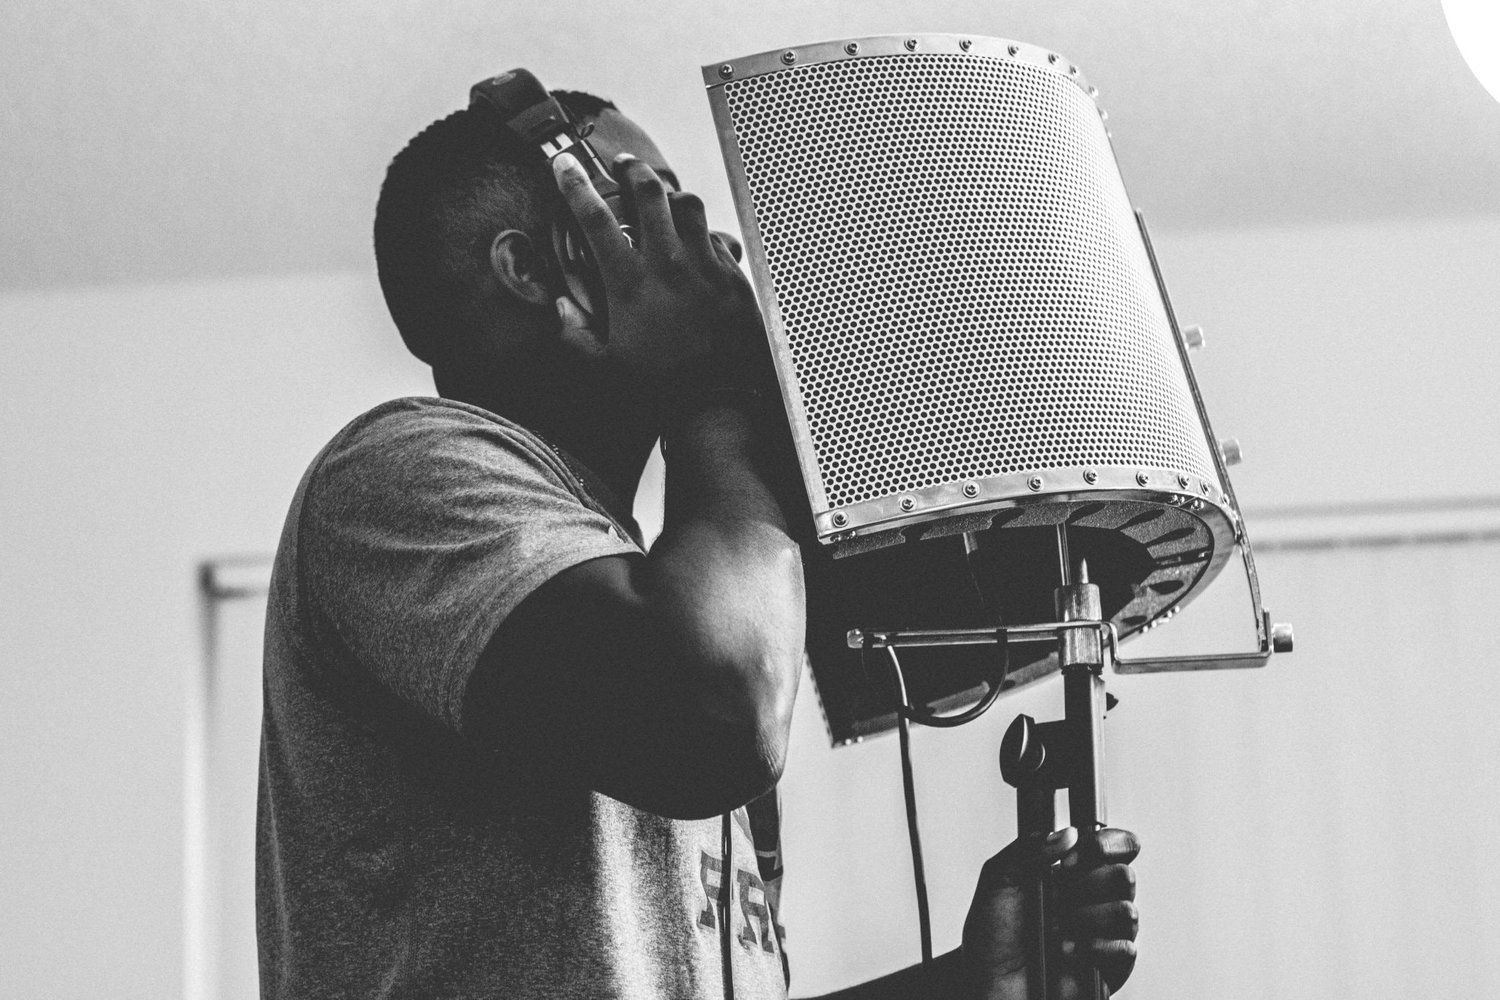
Given the enclosed nature of the space, we will tend to get quieter audio, however we might also tend to sound a bit stuffy. To counter this, a set of foam blocks in and around the microphone should work absolutely fine. Alternatively though, a ready-to-use concave microphone isolation shield works wonders too, most of them are foldable, and provide a compact solution without a need for treating a surface around the microphone, and are available on various e-commerce websites at some great deals. (See reference photo) https://www.amazon.in/Audio-Array-Microphone-Broadcasting-AA-02/dp/B0B4JRQP22/ref=sr_1_5?crid=1DXEI8WF10JZX&keywords=microphone+shield&qid=1683780535&s=musical-instruments&sprefix=microphone+shiel%2Cmi%2C293&sr=1-5
So let’s assume that we’ve got the acoustics right, the next thing we need to work towards is finding the right microphone.
Microphones:
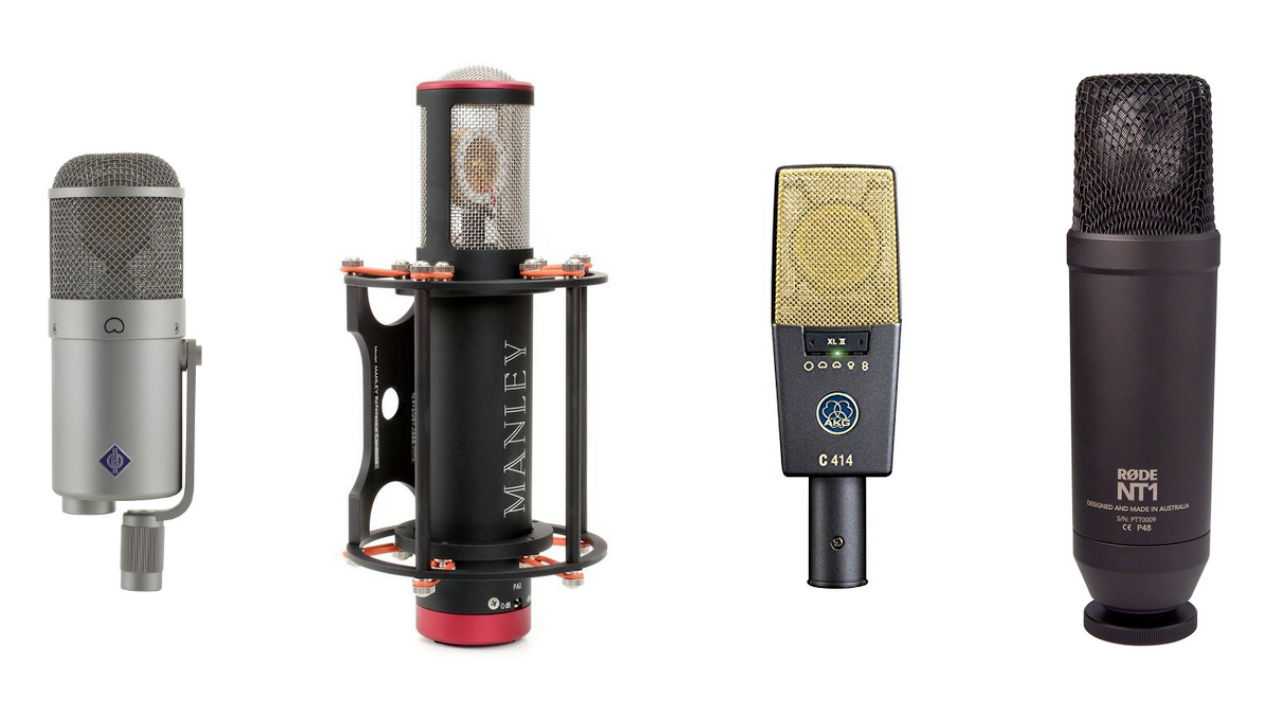
Microphones are available in different shapes, sizes, prices, colors, and specifications, it can be intimidating, and is very easy to get this crucial bit wrong. And while there's no one-size-fits-all, microphones can be be divided into broadly two categories; Dynamic microphones and Condenser Microphones.

But if we had to broadly classify microphones, they would fall under two types:
- Dynamic microphones (The ones you’ve probably seen or held at get-togethers)
- Condenser microphones (Primarily seen at studios) The major difference between the two is their sensitivity or ability to pick up sounds. Dynamic microphones have a lower sensitivity and hence are preferred for outdoor events, and non-treated environments, whereas Condenser microphones pick up even the slightest sounds needed to be used in controlled environments like sound-treated spaces and recording studios.
Now, condenser microphones have a sub-variation i.e: USB condenser microphones and XLR condenser microphones, with the difference being their ability to transmit the audio digitally or via analog signals respectively.
So, how does it matter? With a USB microphone, the signals can be sent directly to a computer without having to be processed in any way. These microphones are relatively cheaper and easy to find on the internet and work okay for recording decent-sounding audio. When it comes to an XLR output condenser microphone, the cable needs to be connected to an audio interface, which then converts the analog signals to digital ones and sends them via USB for a computer to process. So, isn’t the USB microphone much better, you might ask? Well, not necessarily. Professional VO artists swear by the audio interface setups, primarily because they are able to process the audio better, giving a much fuller sound without the loss of any mids or lows. Though an ‘Audio Interface’ might sound like it would need an entire tabletop, in reality, most modern audio interfaces are as compact as a tiffin box and are really simple to use. So, if you’re looking at voiceovers professionally, an audio interface is definitely a must-have.
Computer with a DAW:
 Alright, so now that we’ve figured out the acoustics, got ourselves a microphone and even ordered an amazing audio interface to ensure we’re sounding wholesome and nice, the last step is to have a system to record all our work on.
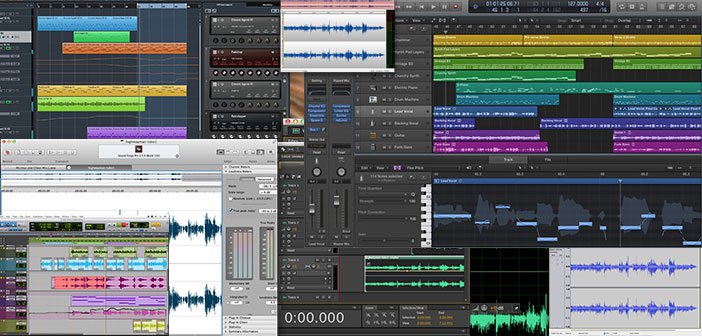
Unlike the 1900s when you needed an entire room to record something in high-quality, modern-day computing has made this process very compact and accessible. All we need is a decent-specced laptop or desktop with a sound card and a USB port. Trust us, more often than not, this is more than enough. Now that our computer is sorted, let’s get to the DAW or ‘Digital Audio Workstation’, or in layman’s terms, software to record, process, edit and export our audio.
Some of the most popular DAWs are:
*Audacity (Beginner) Download Audacity here
*Garageband (Beginner for Mac) Download Garageband here
*Reaper (Intermediate - Our go-to!) Download Reaper here
While the options available today are endless, these are the most popular, easy-to-use, and are also either free or really low-priced.
Remember, all we need to do is record our vocals and edit them for our clients, so as much as fancy expensive software is a great-to-have, we don’t really need them to make it big. At the end of the day, it is about the skill and dedication you are willing to put into your craft and the ability to get the job done that really matters. This brings me to my next point and a very important one for sure. i.e: Getting yourselves to record some great voice-over samples. An often-times overlooked aspect in a VO artists’ book; having the right samples can be a deciding factor whether you get a gig or not. As intimidating as it might seem at the start, this is a really important step and helps you get your foot in the door, while also helping you understand your vocal capabilities.
So, go ahead, explore the genres of voiceovers - try your hand at an advertising script, maybe open up a book and begin to read a chapter to practice consistency, or pull out a wacky character script and go funky. You can find quite a few sample scripts with a quick google search online. The idea is to practice and find your niche, while you build your portfolio of work. You might just be awesome at pulling off characters or might just have a soothing and comforting voice to narrate an inspiring audiobook, the possibilities are endless! And trust us, eventually work will come your way. If you’re looking for some inspiration, you can check out our Voice Artists at ww.voicesbazaar.com/voice-artists/
Don’t look back, you’ve got this.
Written by: Dylin Gomes | For www.voicesbazaar.com
Think you've got what it takes to be a part of the #VoicesBazaarFamily?